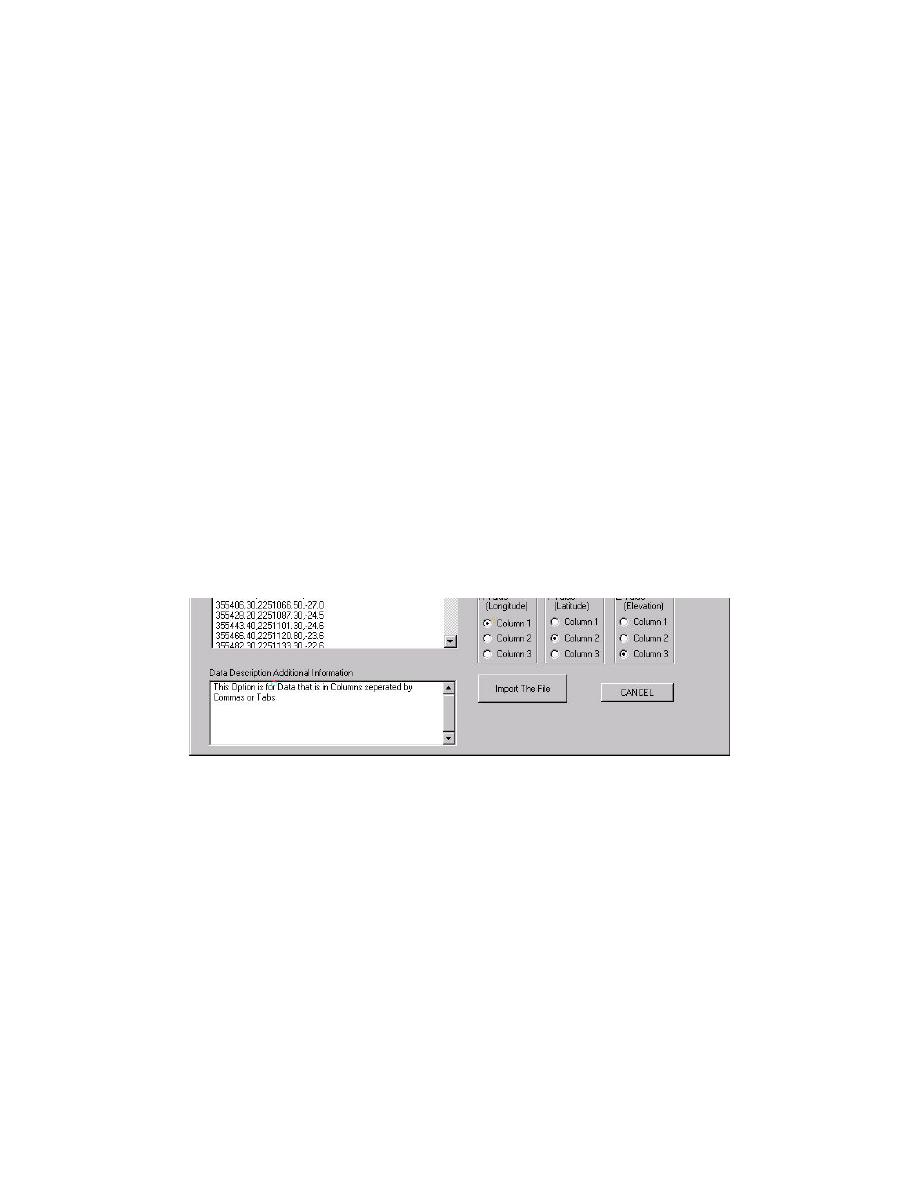
After the user selects a file to import, the tool opens a dialog that helps
determine the underlying structure of the data (Figure 8-6). Raw data lines are
displayed in the window on the left side. If a metadata file can be located for the file,
this information is displayed below the raw data. The right side of the dialog allows
the user to define the file format. Users may note the number of header lines, the
type of data delimiter, and the columns containing the X, Y, and Z values in the raw
data. When complete, the user should click on the Import The File button to begin
the import process.
Figure 8-6. Generic ASCII file format dialog
When the file has been imported into the HyPAS project, the user may add
more data by selecting another type to import and progressing through the dialogs
again. When the file and any or all additional files have been imported, the user may
then create a theme from these data. Note that the Create Bathymetry button is now
enabled on the Import ASCII Data options dialog (Figure 8-2). Clicking this button
begins the computationally intensive process of creating a bathymetric grid from the
data. Only one bathymetry data set is created.
The user can create up to two themes from the data set. First a gridded surface
of the actual bathymetric data can be defined. Users may set the name in the dialog
box (Figure 8-7). The user can also create a point theme from the data. Again, the
theme name can be defined in the dialog box.
8-4
Chapter 8 Bathymetry


 Previous Page
